
Here are some useful troubleshooting tips and tricks to help you fix the issue of media files not loading on Clipchamp. To edit and create a video, you will need a few digital assets. These are the individual audio files and video files. When these stem files are edited together on Clipchamp, you get a completely edited video as the output.
Sometimes, when you try to import the video and audio files to start editing, these media files won’t load. Mostly, the issue could be with a bad network. Clipchamp for Windows and Clipchamp web require the internet to run. If the network is unstable and disrupts frequently, then importing the stem files will fail.
Reasons Why Media Files are Not Loading on Clipchamp
The file you are trying to import into the editing panel may be of unsupported format. To allow it on its platform, Clipchamp will convert the file into a supported format. This takes a considerable amount of time, depending on the file size. Speaking of which, when you are uploading a lengthy video asset of high-quality resolution, it will take time to import.
Your computer must also be capable of processing and working around with high-quality audio and video files. This means the hardware resources must meet the system requirements of Clipchamp otherwise, you will notice a significant lag while important media files, editing the raw files, and producing an output video.
For the Clipchamp users editing videos on the web version, there may be some issues with certain browser extensions that you have integrated with your browser. Also, the cache of the Clipchamp website may have corrupt data on it, which will make the interface slow.
Top Ways to Fix Media Files Not Loading on Clipchamp
Let us go through the troubleshooting tips and get the media files to load smoothly on Clipchamp.
1. Connect your Device to a Stable Network
First, you need to deal with the faulty network and fix it or replace it. Get a complaint registered with the ISP so that their support team will come down and check for network issues at your place.
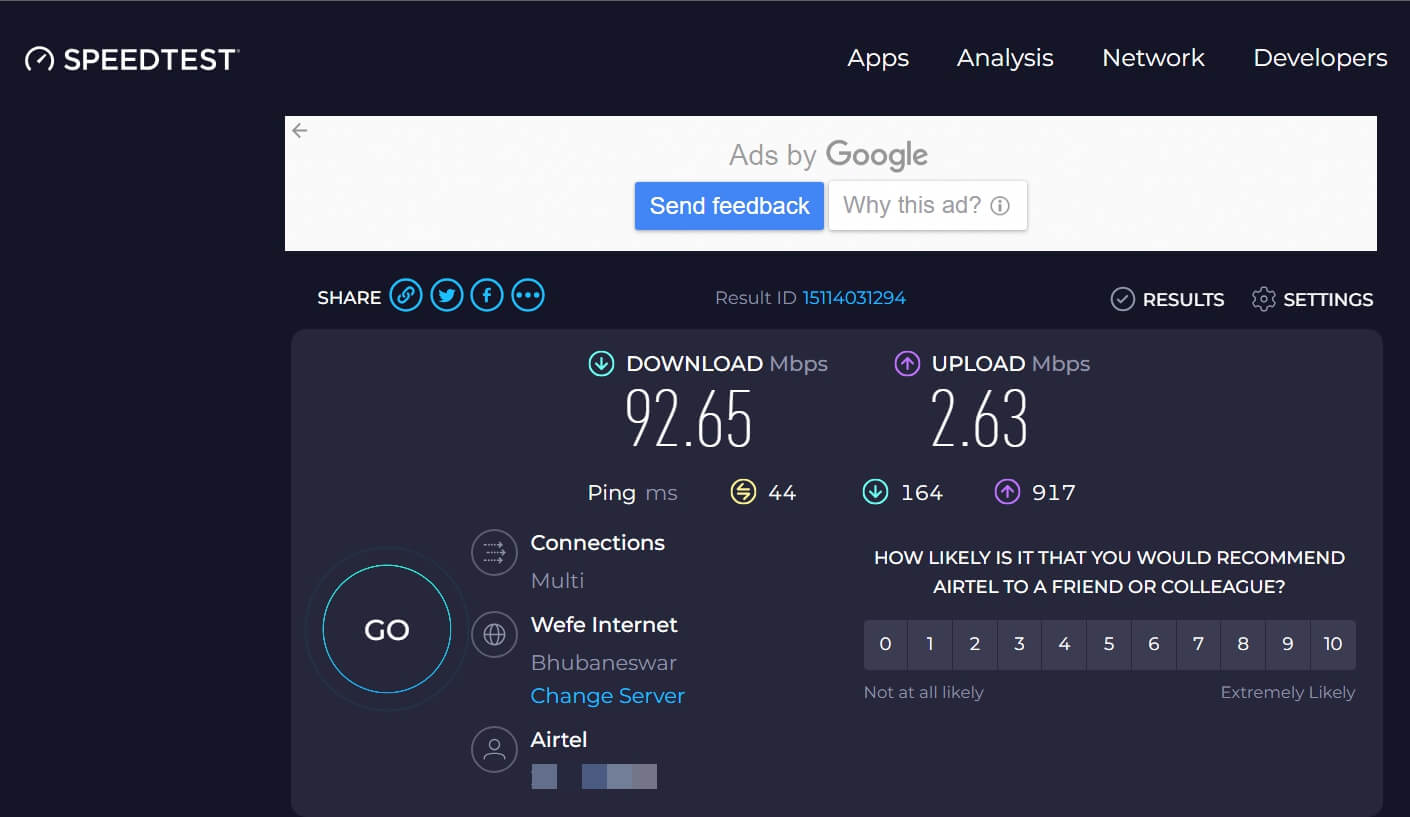
You may run a network speed test to check how stable your network is. Try to connect your device to any alternative stable WiFi network that may be available.
2. Update Clipchamp
If you are using the Clipchamp app, then make sure to install the app updates through Microsoft Store. That will keep the application bug-free, and you will ensure that you get to use the app smoothly.
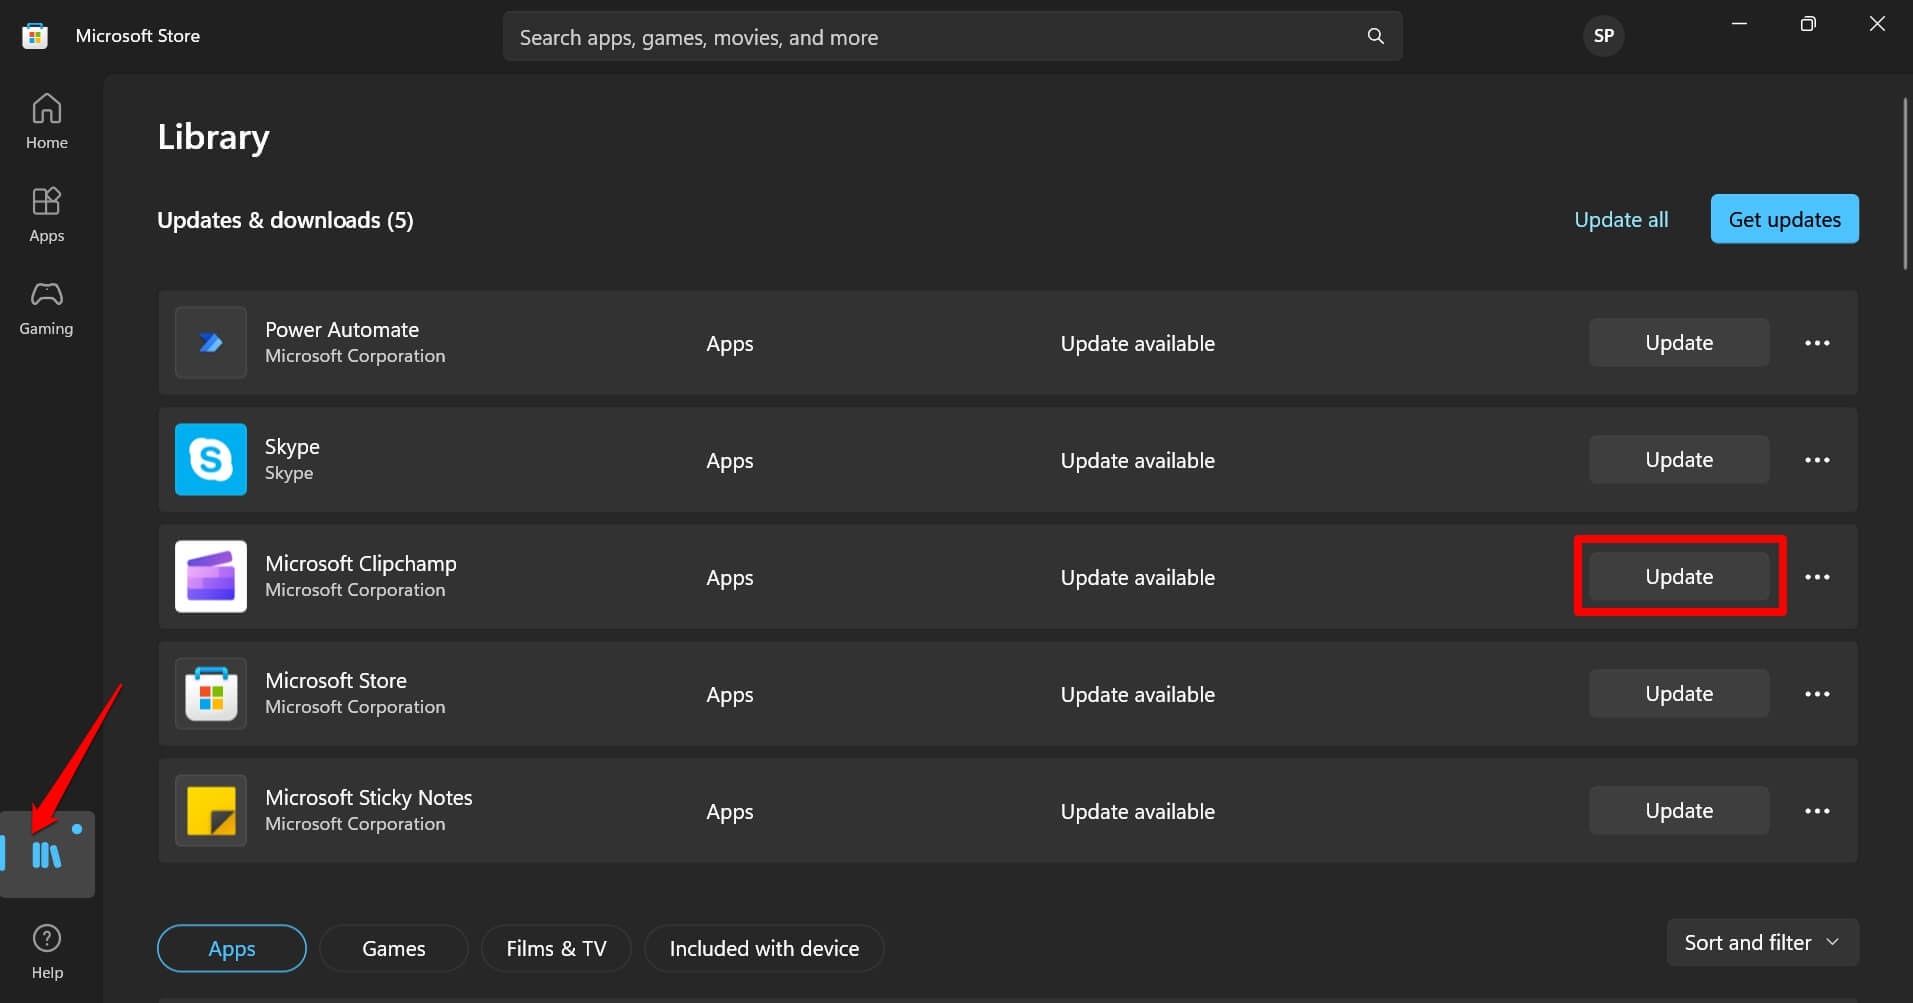
- Launch the Microsoft Store app and click on the Libray icon at the left sidebar.
- Click on Get Updates.
- If Microsoft Clipchamp has an update pending, click Update to install it.
3. Clear Clipchamp Site Data
While using Clipchamp on the web, if you are facing issues with loading the media files to the editor, clear the site data of Clipchamp.
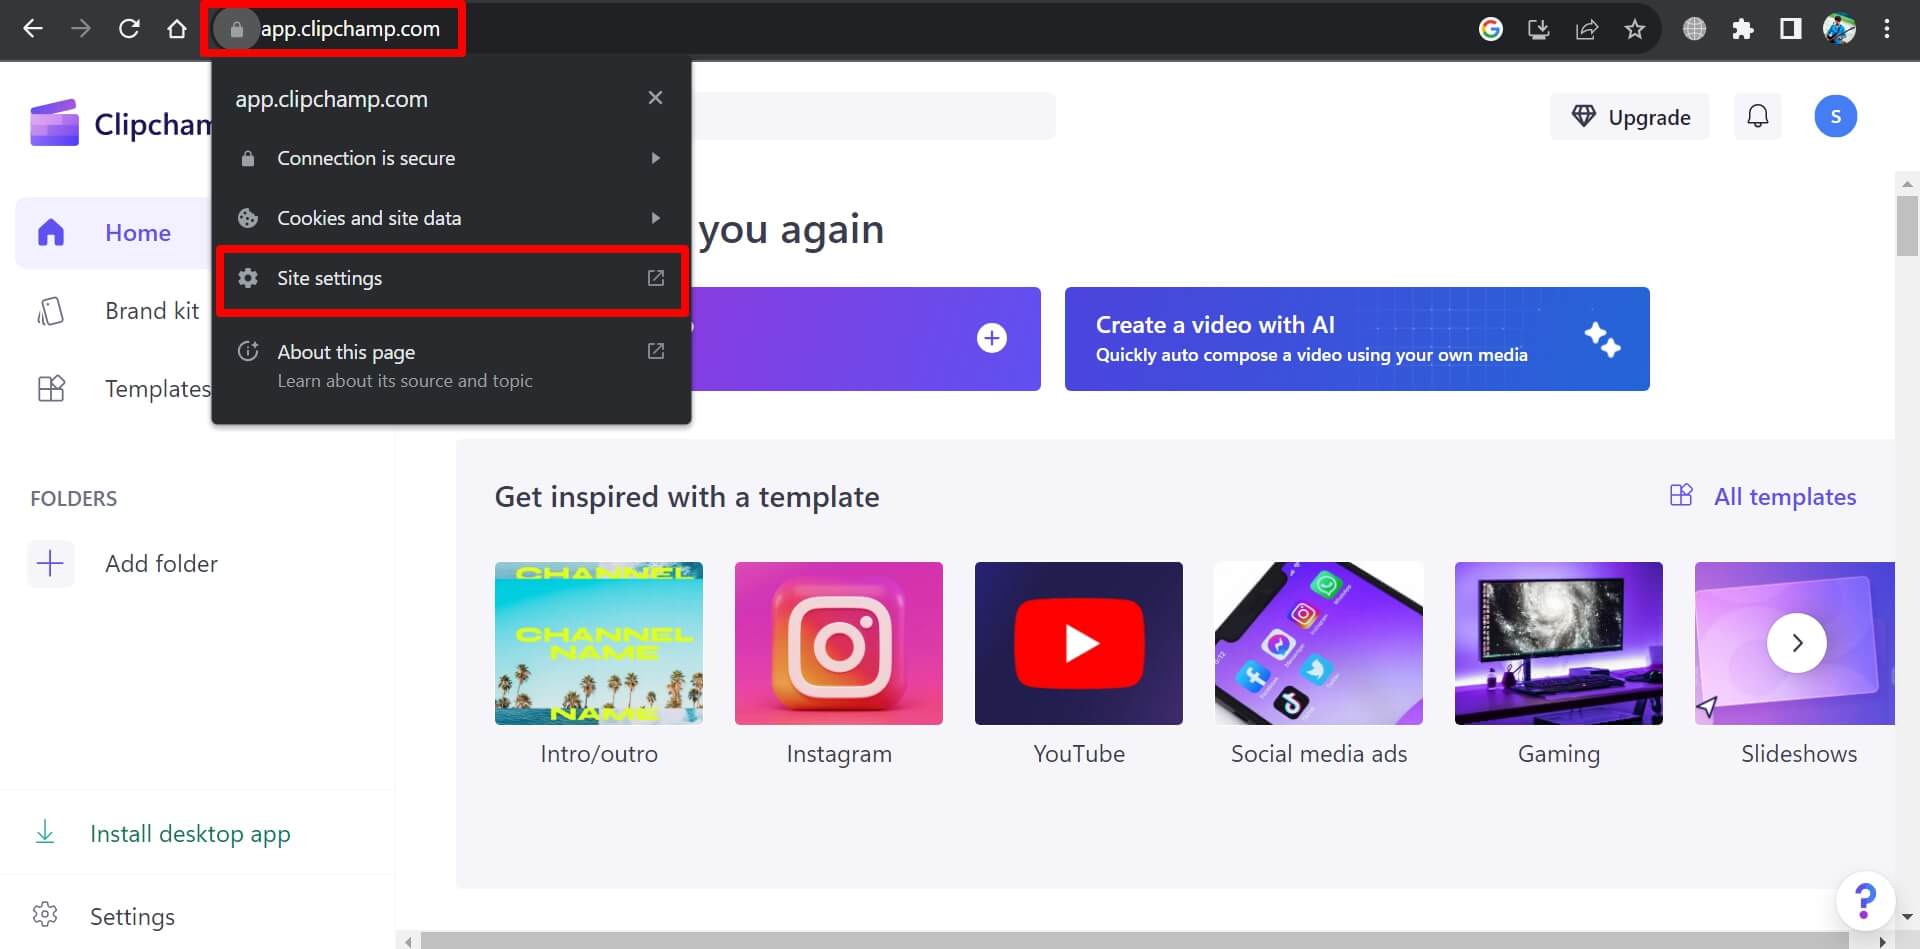
- On the browser, click the padlock icon beside “app.clipchamp.com“.
- From the small menu appearing below the URL, click on Site Settings.
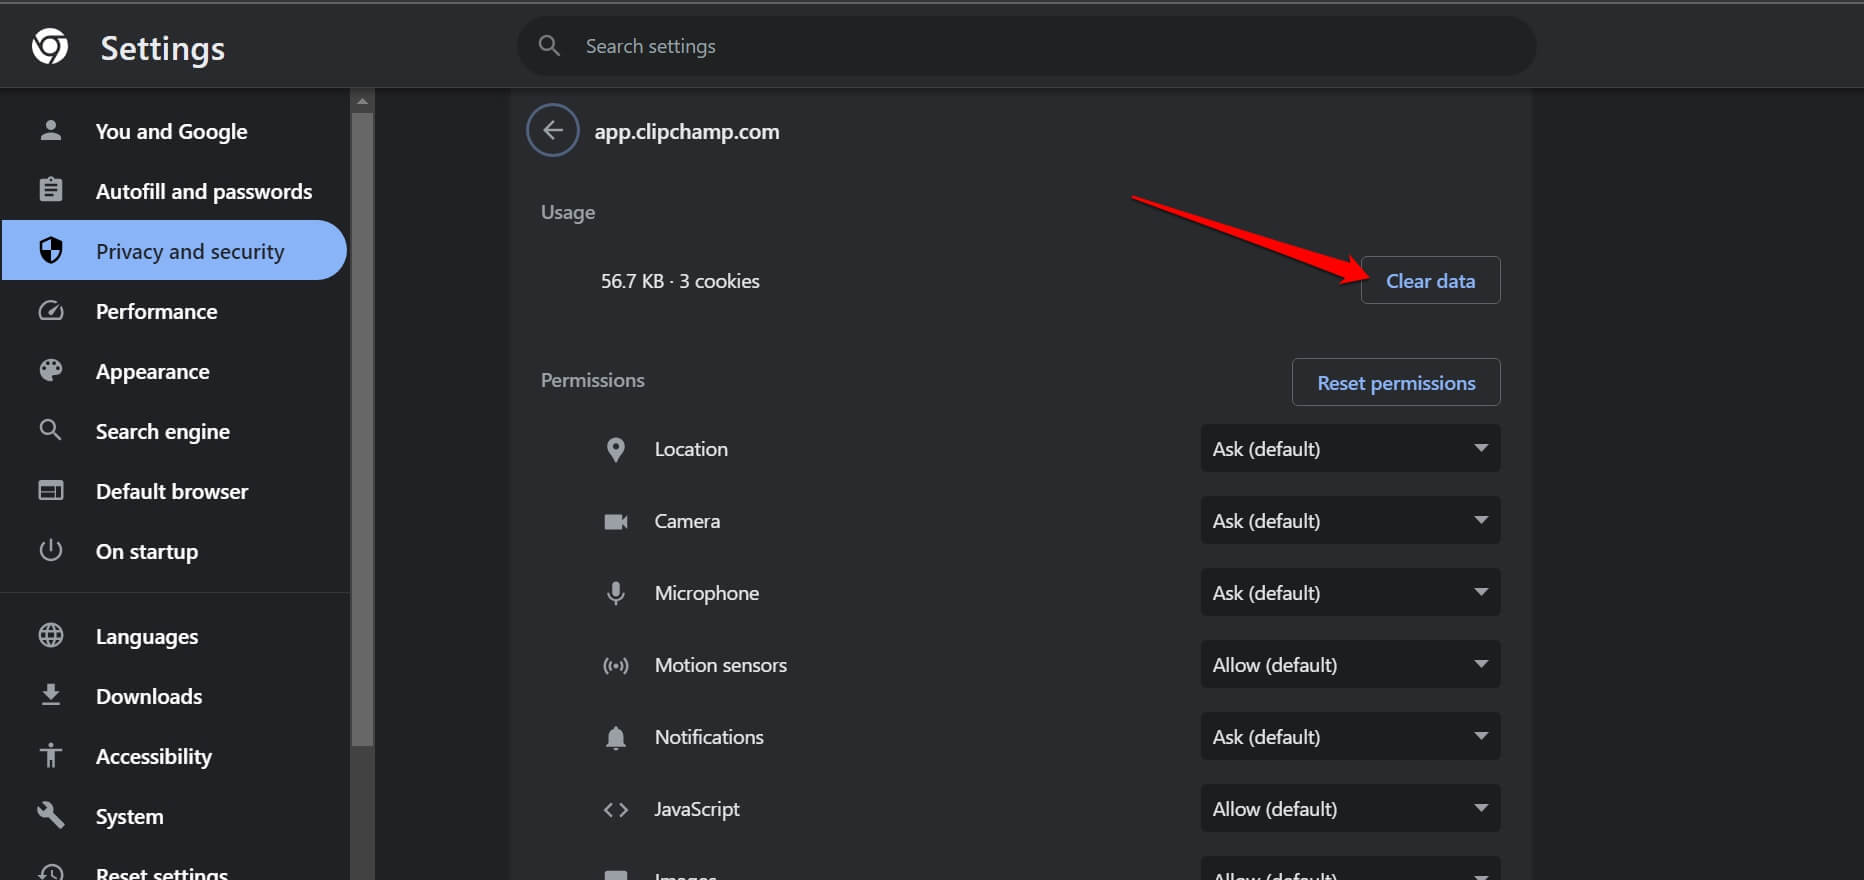
- Under the tab Usage, click on Clear Data.
4. Force Close Clipchamp and Relaunch
At times, force closing a problematic app and relaunching it can help fix the random bugs that may cause functional errors on the platform.
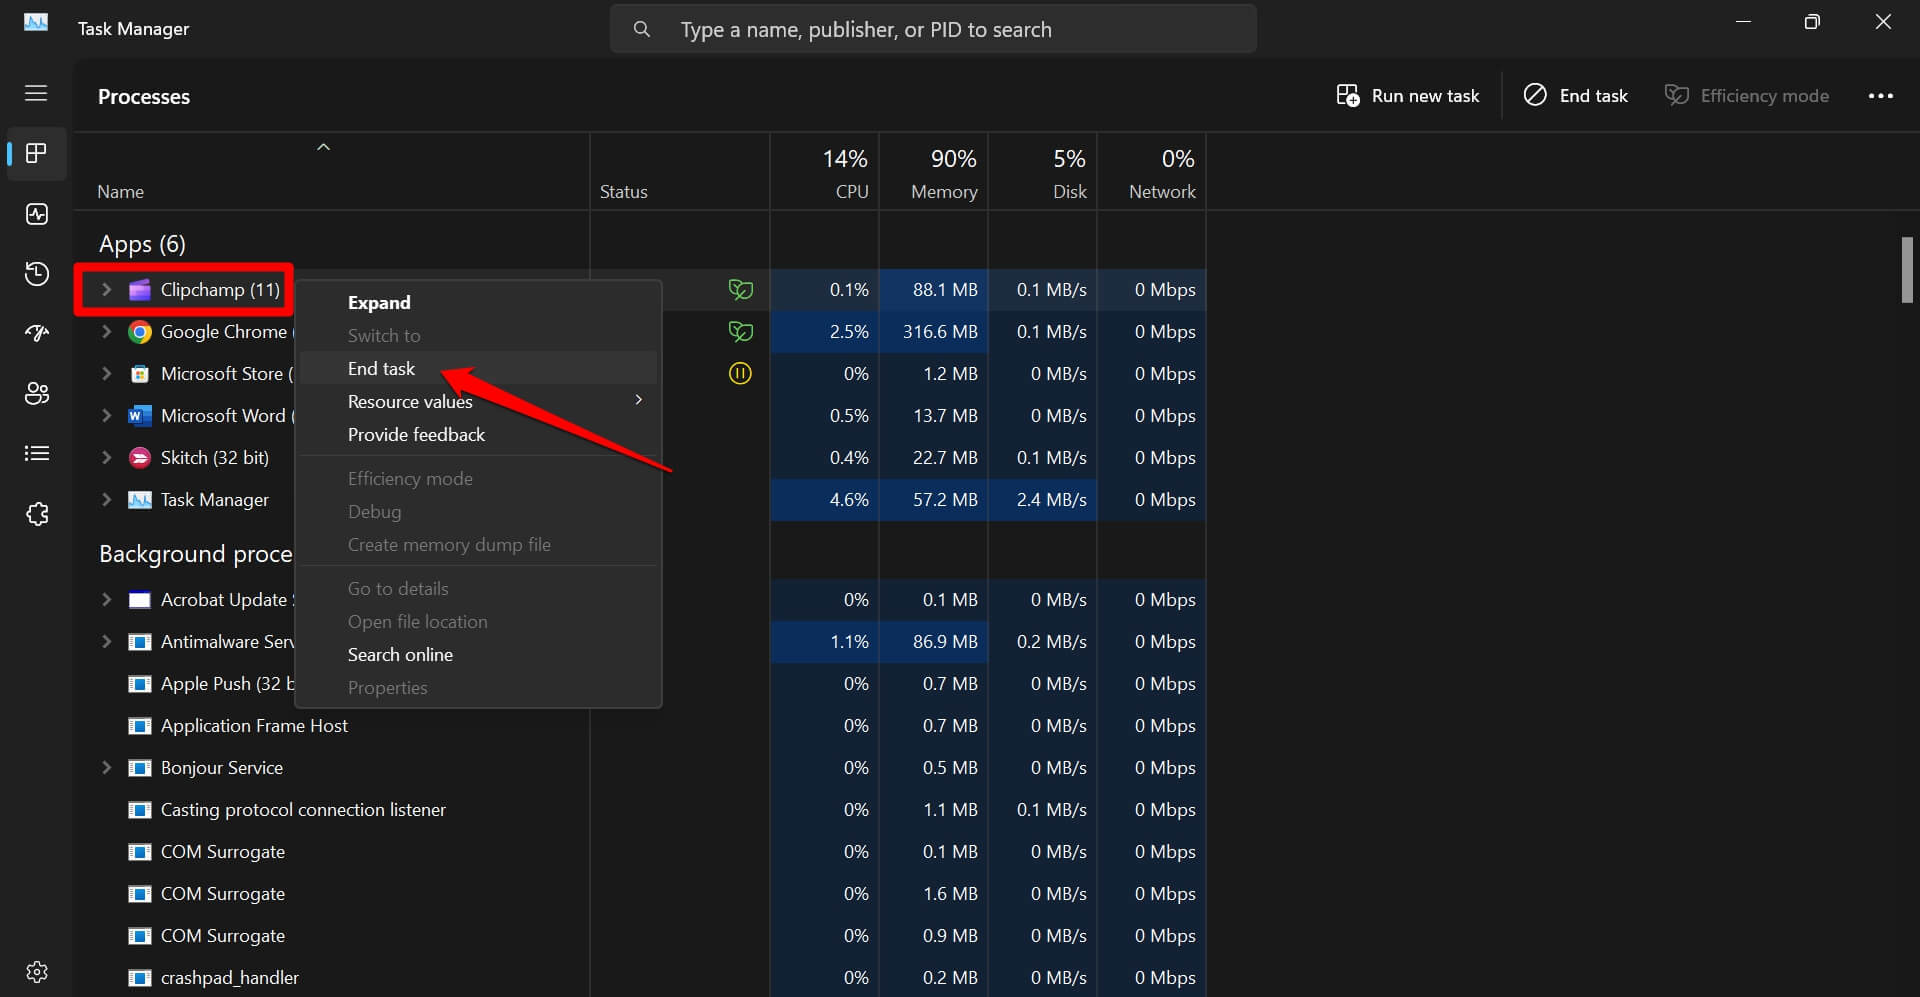
- Press Ctrl + Shift + Esc to launch the Task Manager.
- Under Apps, scroll to Clipchamp, right-click on the app name, and select End Task from the menu.
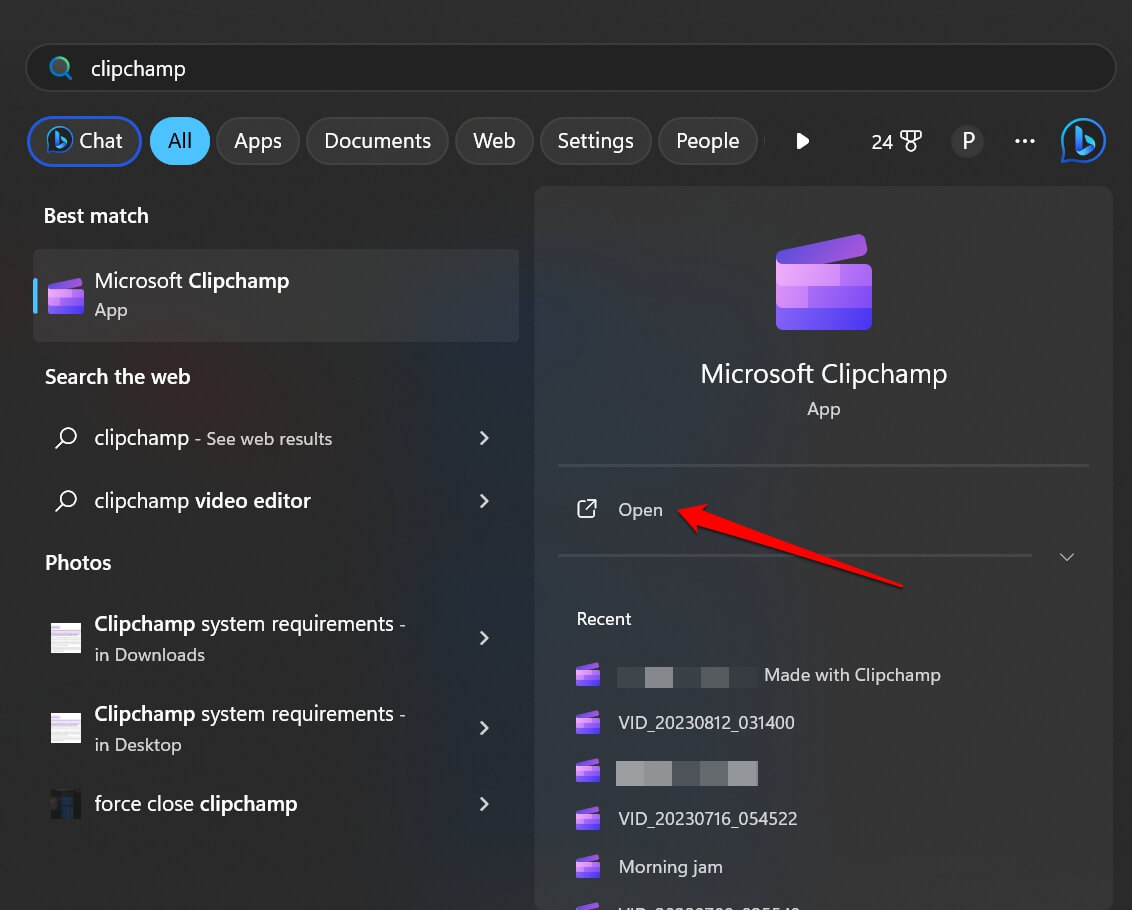
- Press Windows + S to initiate the Windows search.
- Type Clipchamp in the search field and click Open when the app shows up.
- Now, load your project again or create a new project.
- Import the necessary media files for your project.
5. Check the Hardware Specifications of your PC
Importing high-resolution audio and video components to create, edit, and export a video can be resource-intensive for a PC. This means your computer must be equipped with a powerful CPU, the latest and compatible GPU along with sufficient free internal storage.
The RAM should be at least 8 GB (16 GB or higher is recommended). Your PC should have a 64-bit architecture running 64-bit OS and the 64-bit version of browser apps Edge or Chrome(if you plan to run Clipchamp on the browser). Ensure that your computer fulfills all these criteria to load files into the editing panel of Clipchamp smoothly.
6. Free Up Memory on Your Device
Along with having sufficient free internal storage on your PC, you may also free up resources on your device while editing a project on Clipchamp. This means you should consider closing all other apps apart from Clipchamp. It will allow the latter to have the resources to perform the editing without any hiccups.
If you are editing videos on Clipchamp web, then consider closing all other inactive browser tabs. That will allow Clipchamp to use the available network resources to get the editing, importing & exporting of files done swiftly.
7. Disable Browser Extensions on the PC
To avoid browser extensions messing up with Clipchamp (while using it for video editing on the browser), you may disable the browser extensions that you have not used for a long time.
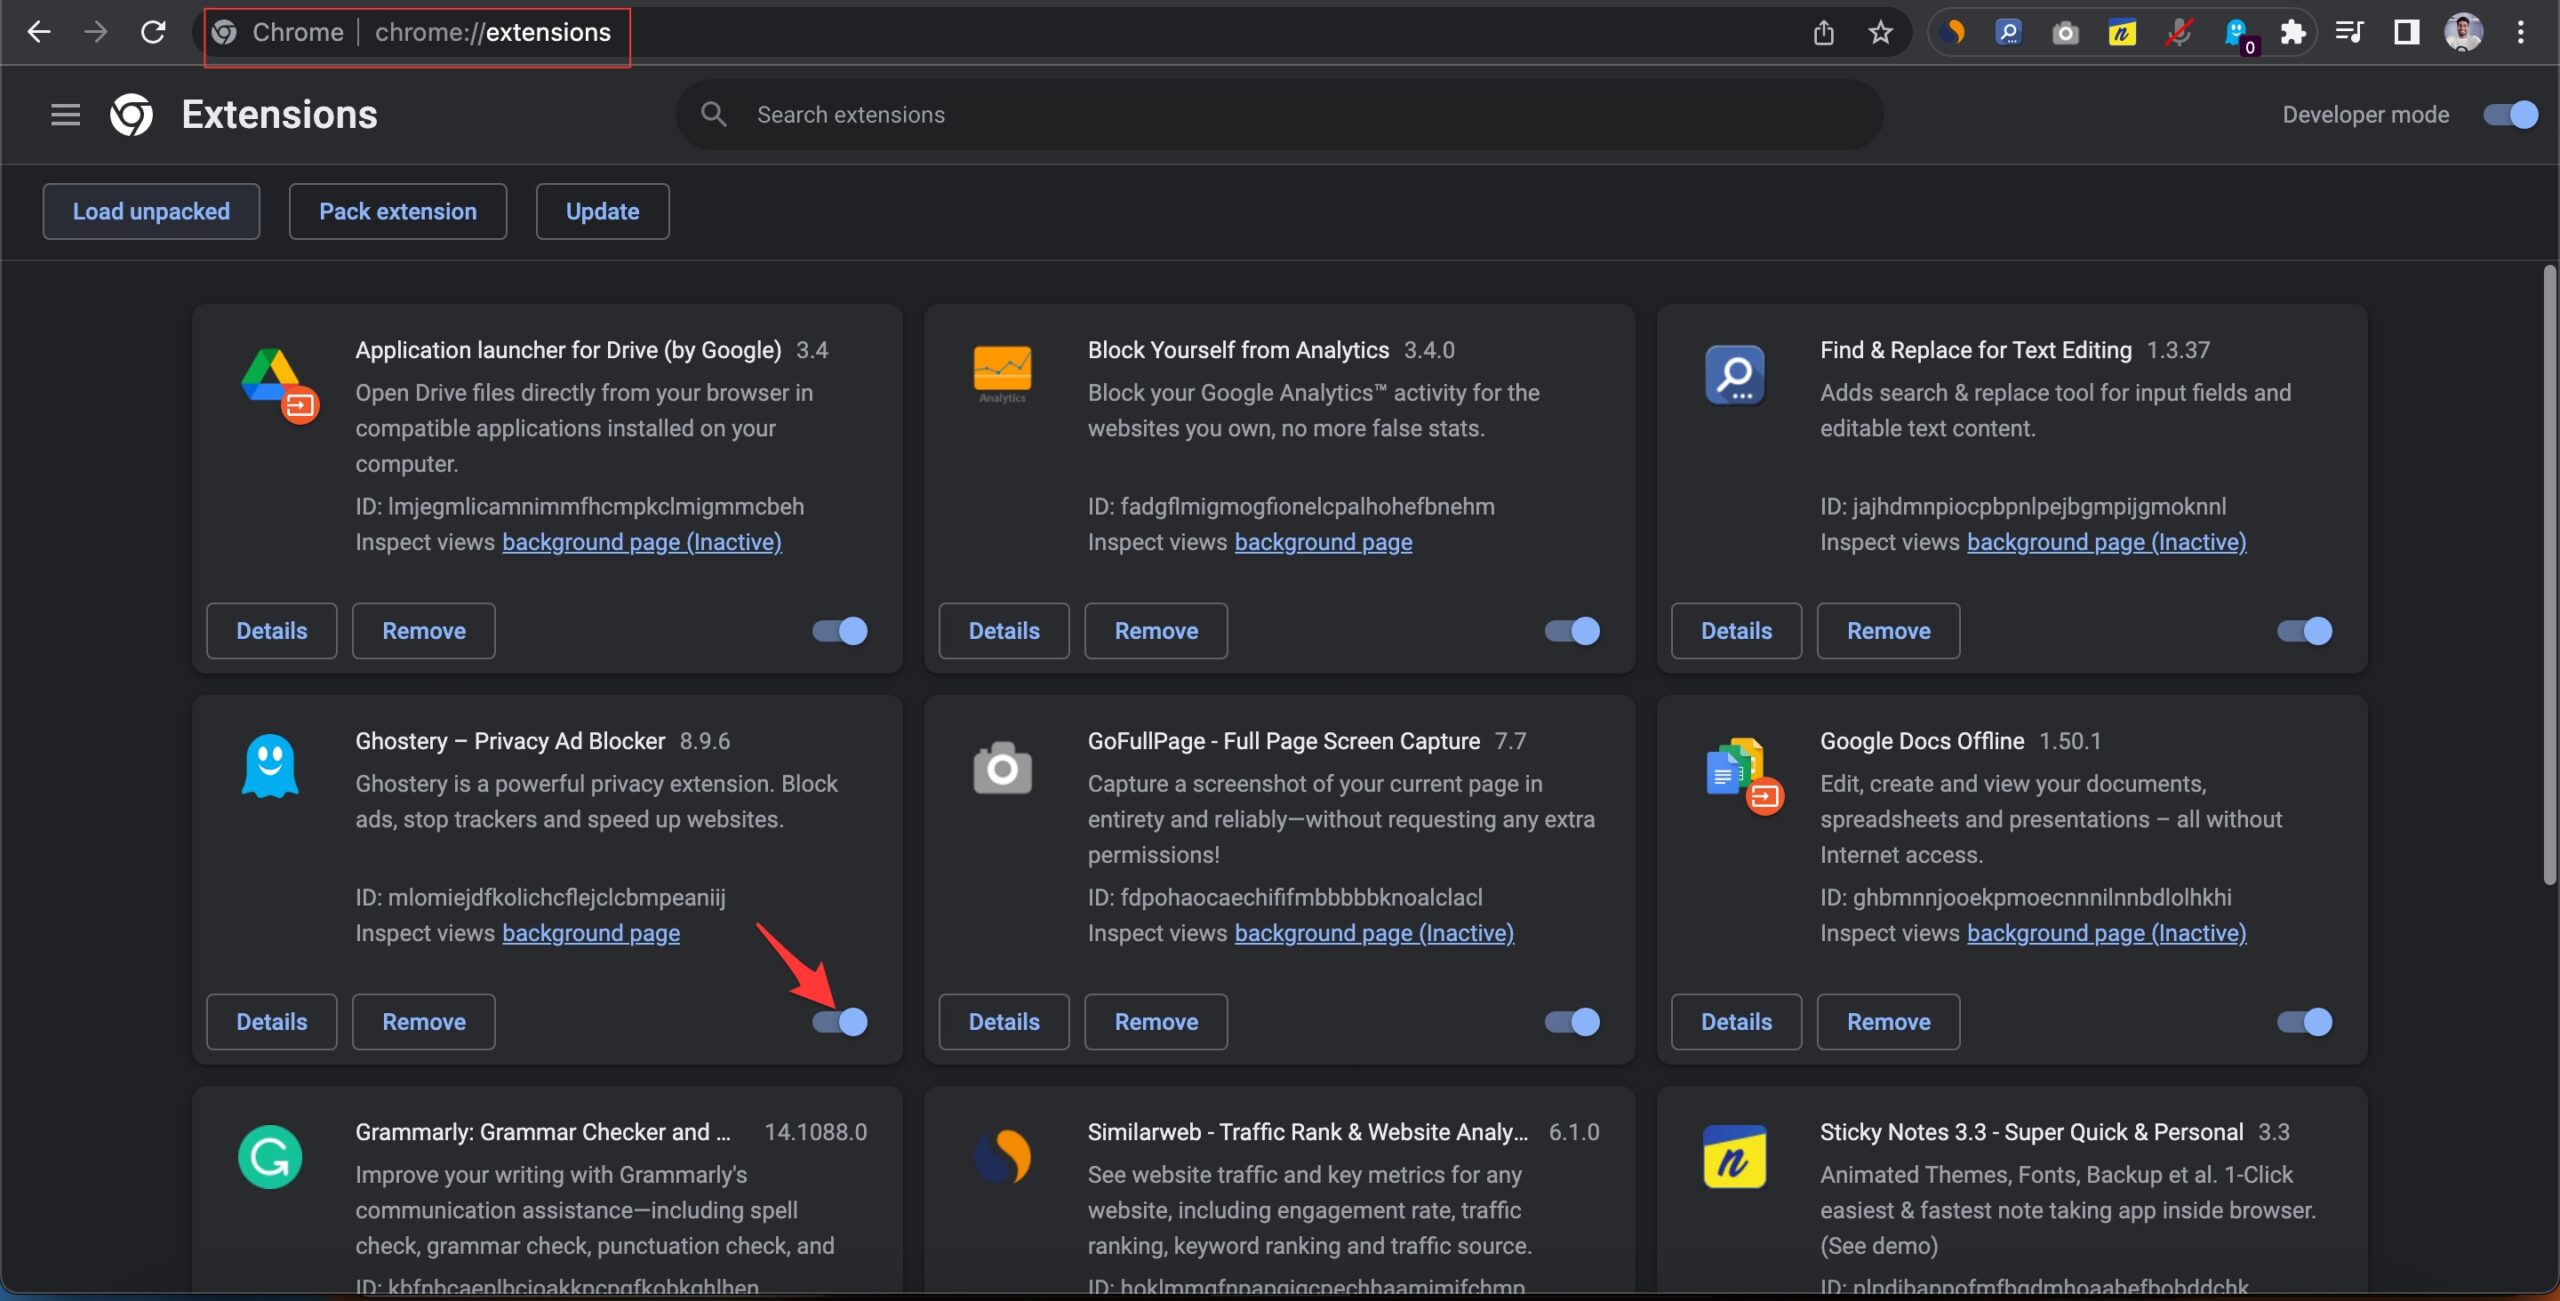
- On your Chrome browser URL bar, type Chrome://extensions, and press enter.
- Go to the Chrome extensions that you want to disable and click on the toggle beside the plugin to disable it.
8. Clear the Browser Data
If you are using Clipchamp on your browser, try clearing the browsing data of your respective browser app. This may fix the issue of media files not loading on the Clipchamp editor.
For Chrome/Edge/Firefox,
- Make sure the browser window is active.
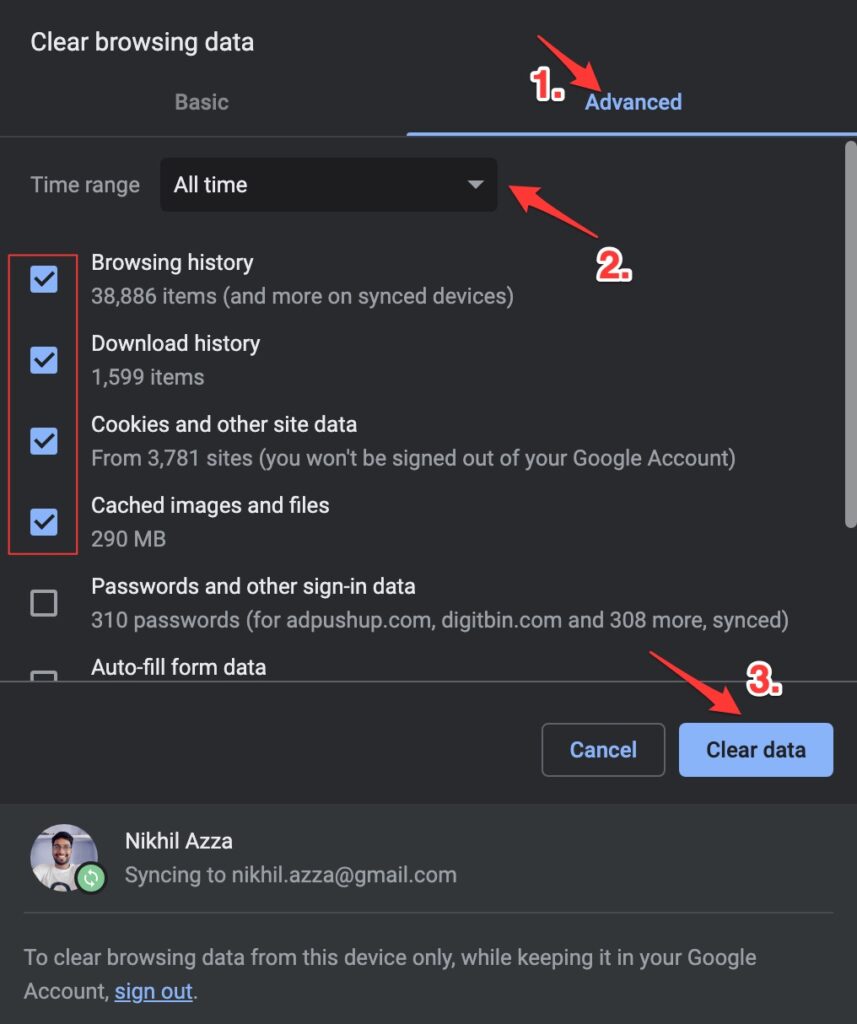
- Press Ctrl + Shift + Delete keys to launch the Clear Browsing Data dialog box.
- Select “Cached image files”, “thumbnails”, “Cookies & other site data”, and “browsing history”.
- Click on Clear Data.
NOTE: The above steps to clear browsing data are just the same for all the prominent browsers.
Load Media Files on Clipchamp Without any Problem
It can be quite disappointing when you have some video editing task to perform but media files won’t load on the editing panel of Clipchamp. I hope with these tips and tricks, you can now fix the issues with importing media files into Clipchamp.